In most of the developmentn environments that i have seen till date, Enterprise Portal developers prefer re-using the system created proxy projects. Instead, it is better to use custom proxy projects because at times, while migrating code from one environment to another, these system proxy projects are often disrupted.
Create a Custom Proxy Project for Enterprise Portal Development:
1. The first step is to ensure that Visual Studio 2013/Visual Studio 2010 tools are installed for Microsoft Dynamics Ax 2012 R2/R3.
Note:
- Visual Studio 2010 is not supported with Microsoft Dynamics Ax 2012 R3 Cumulative update 8 and Visual Studio 2013 is not supported with Microsoft Dynamics Ax2012 R2.
- Visual Studio 2013 Update 2 is required to setup Visual Studio 2013 tools for Microsoft Dynamics Ax 2012 R3.
- Pre-Cumulative 8 update build of Microsoft Dynamics Ax 2012 R3 supports Reports, .NET development and Enterprise Portal development on Visual Studio 2010.
- ReportViewer 2012 runtime component is required, if Visual Studio 2013 tools are to be installed.
For further details regarding compatibility of Visual Studio 2013 with Microsoft Dynamics Ax 2012 R3, please refer to the link mentioned below.
https://mbs.microsoft.com/customersource/northamerica/AX/downloads/updates/ msdaxvistudiotolls2013
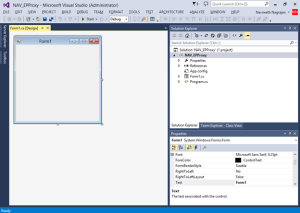
2. The next step is to create a normal Visual C# project. In this case, i have chosen a Windows Form application.

In the next step, add the project to the AOT as shown below.
 This will convert the C# project into a Microsoft Dynamics Ax Visual C# projects thereby enabling a developer to access the MorphX Framework.
3. Now, to ensure that the Deploy to EP property is set to Proxies, to ensure that this project is available as a proxy project in the Enterprise Portal project. This will ensure that the project output is deployed to the Enterprise Portal site collection in the SharePoint Web Application.

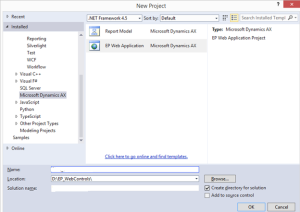
4. The next step is to create an Enterprise Portal Web Application project and after creating the Enterprise Portal Project, try to add the EP proxy project that was created in the previous step.

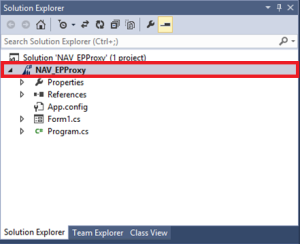
The custom proxy project that we created will now appear in the list of Enterprise Portal proxy projects.

Select the proxy project to the Enterprise Portal solution. Through this proxy project developers can access the MorphX framework objects.
In my next post, i will explain how to add MorphX objects to the proxy project and expose those objects for Enterprise Portal development.
